DIY Photography Season by Season - Part 3: How to take great photos of your kids in autumn
The nights are drawing in, there’s a nip in the air, and the kids are back at school - yes, autumn is on its way. Hard to believe isn’t it? It’s seems like only yesterday I was sharing my guide for dealing with the harsh sun in summer holiday snaps, and now shorter, darker, autumnal days are already upon us.
The seasonal change from the bright colours of summer to the muted shades of autumn offers another great excuse to grab your camera and capture another aspect of your family life.
Parents are always asking me for advice about how to get the best pictures of their kids – some join me on my Photography for Parents Workshop – so in these DIY Photography guides I aim to help you take well-prepared, thoughtfully composed, colour coordinated shots yourself. Follow my tips and you won’t have to wait until you can get a session with me to capture those special moments.
In this third guide in my season by season series – I’m going to share a few insider photography tips and tricks to help you make the best of photographing your kids in the autumnal scenery. The colours of the leaves and the warm light can create fun and informal pictures that capture your family at their best. Kids love kicking about in the leaves, jumping in muddy puddles, and no doubt you’ll enjoy it too.
What you’ll need
If you missed it, or even if you didn’t, refer back to my spring guide for a list of all the kit I recommend to help you get the most out of a DIY family photo shoot. In there I also go into everything you should do to prepare for a shoot in general, so do go back to it if you need a reminder.
Because preparation is key. If you set a time and date and make a special occasion of it you’ll find your kids are far more cooperative than when you interrupt their play to ask them to pose for a few pictures.
Choosing your autumnal location
Even though early morning or later afternoon is always a good time for photography, the beauty of shooting in autumn is that the sun is quite low in the sky all day so timing doesn't present too much of an issue in terms of light.
If you’re lucky your own back garden might be the perfect spot for appreciating the fallen leaves and warm colours of autumn. If yours isn’t abundant with either then get out for a day trip to a local forest or park, or even a local farm that grows pumpkin or sweet corn if there’s one nearby.
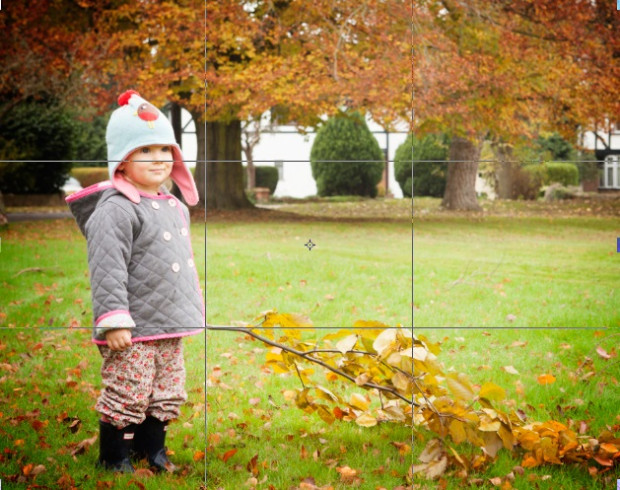
Here in leafy Surrey we are very lucky to be surrounded by stunning landscape that is at its finest during autumn - and you can enjoy a lunch in one of the fine country pubs while you’re out too!
A few of my favourite places to photograph children in the autumn include:
Garsons Farm in Esher for actions shots of your kids picking pumpkins and running through fields of sweet corn during September and October.
Box Hill Stepping Stones for shots of the kids jumping across the stepping stones.
Richmond Park is resplendent in rich autumn colours at this time of year, and there’s the possibility of capturing the elegant deer in the background.
Winkworth Arboretum is the best place to go to capture the autumn colours!
Sheffield Park Garden is another spot that offers plenty of colours.
Virginia Water where beautiful autumn colours can be found around the lake.
For other locations in Surrey, Surrey Life have a great guide, and for further afield the Woodland Trust has a list of their favourite autumn woods - so check those out.
Bring autumn inside
If a day trip doesn’t suit you or you’re not close to anywhere with that leafy autumnal feel, why not bring the season inside? You can pick up cloth leaves, foam pumpkins or even just a few yards of fabric in warm, earthy colours to drape over furniture as a backdrop. We picked up some conkers on our morning bicycle ride and decided to make some animal shapes with them.
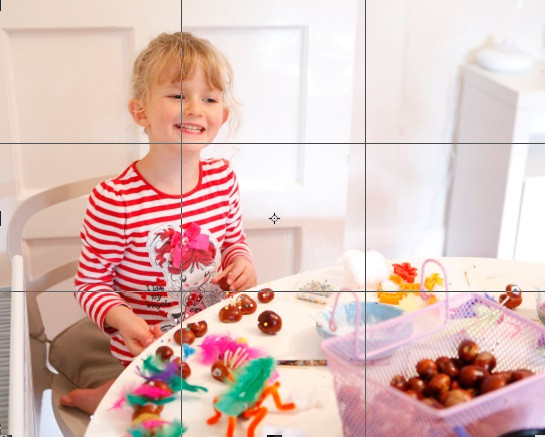
Or why not make a photo shoot out of the classic autumn activity of pumpkin carving for Halloween. Capture the fun both before, during and after - complete with candle lit pumpkins glowing in your window. To make the shoot a real success learn how to get the most out of your camera in my photography for parents workshop.
What to wear
The balance of colours in your shots is always important. As I explained in my spring guide a colour wheel can help get the balance right. For autumn colours that complement your surroundings - bright or cool colours like yellow or blue for instance - will stand out against the warm colours of the leaves and trees at this time of year and make your kids stand out from their surroundings.
I know that people really want some clear direction on this so I’ve created an autumn Pinterest board which may help you to visualise and pick your favourite colour scheme. As the weather gets colder layers of clothing are a good idea if you want to keep your little subjects smiling. So break out the scarves, hats, coats and mittens - they can always remove a layer or two if the weather permits.
After a rainy day go out fully dressed in bright coloured wellies and rain coats and let your little ones jump in muddy puddles, they will have lots of fun and you will get the most memorable shots.
My top tips for great autumns shots of your little ones
Taking great photos of small children isn’t easy - even for me, and it’s my job! It’s even harder with your own kids because they are so ease with you that they often don’t respond to your requests the way they would to a stranger. Here are a few tips which I hope will help make it a little easier:
1. Put in some effort and make it fun to capture those natural smiles. It’s worth taking some time to get a good photo. So be really animated and instructive. Very young children will find it hard to understand what you want them to do unless you demonstrate so get in on the action.
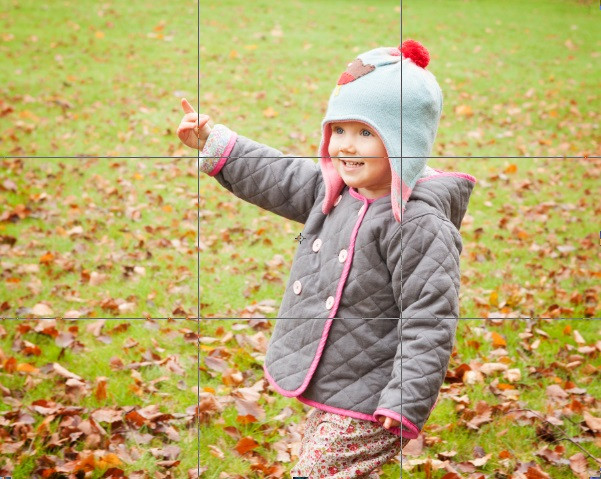
Don’t be afraid to make a fool of yourself singing silly songs or making animal noises to get them to smile. Posed shots can be great but you’ll get something more memorable from the session if you make it fun by encouraging them to play in leaves, or climb trees. The more fun they have the more likely it is you will to get a natural smile.
2. Put the camera down. If you have a particularly reluctant or unhappy subject, put down the camera for a moment and spend a few minutes making silly small talk. Once you’ve grabbed his or her attention pick the camera back up and say, ‘Now I don’t want you to smile, not even a tiny bit. No, I mean it, you mustn’t smile!” and chances are they’ll burst out laughing after a few minutes.
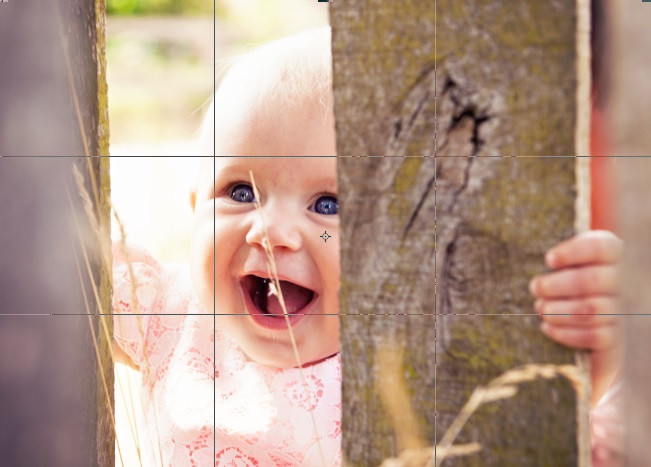
Not that smiley happy shots are the only ones worth getting. Make sure you get a shot of the grumpy face too!
3. Be patient and stay positive. It can be all too easy to lose your patience and let your frustration show when your children are simply not listening to you. Don’t. Be as cajoling and patient as you would be if you were talking to someone else’s child, or maybe switch it up, try something different and come back to the shot you wanted later. It can really help to take a friend, or your partner, along with you who can stand behind the camera pulling silly faces or telling jokes. Telling children to look at the camera and smile naturallyy never works, so using someone to attract their attention is a far more successful way to get them looking where you want them to.

4. Find somewhere to sit. It’s not easy to keep a toddler or preschooler still for long enough to get a photo that’s in focus, and also get them to not only look at the camera, but smile as well. So increase the odds by sitting them down on a tree stump or park bench. If you’re lucky he’ll stay put for a moment or two and in those few moments of stillness you get the perfect shot. If you have a helper with you they can guides the little ones, and be close at hand incase they fall.
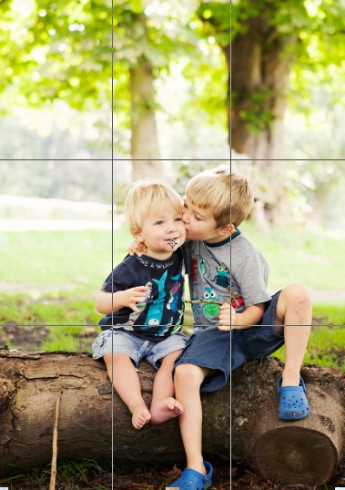
5. Move around. As you talk to your child, stand up, sit down and lean to the left or right. Your child’s eyes will naturally follow your movement and you’ll be able to get photos from a wide variety of angles.
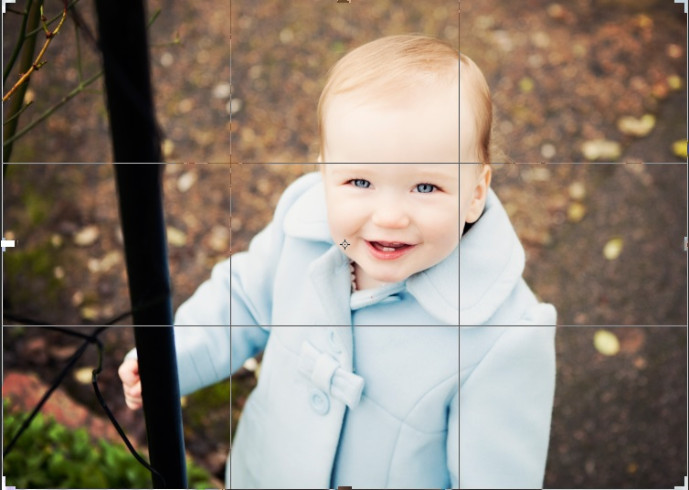
Follow the rule of thirds
Most people tend to put their subject slap bang in the centre of photographs when they are taking pictures and this can work with very close up shots, but if there is more too a photo and you want some of the background to play a part, it’s rarely the best way to set up the shot.
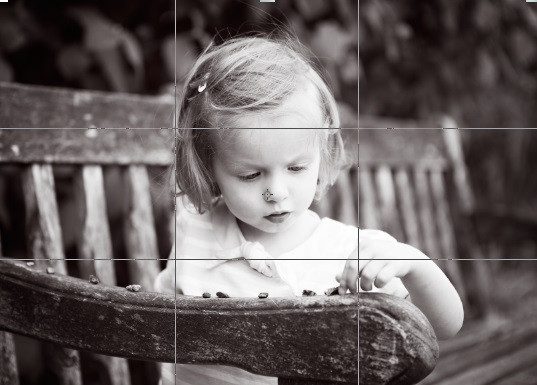
If you been on my photography course you should already know the benefits of following classic rules, such as the Rule of Thirds. Whether we are aware of it or not, our eyes often look for a sense of balance in what we see. This balance can be explained by breaking an image into thirds, horizontally and vertically (hence all the images in this blog have been overlayed with a Nought and Crosses grid to help you visualise the points of interest). The human eye tends to gravitate to intersecting lines e.g. points of interest.
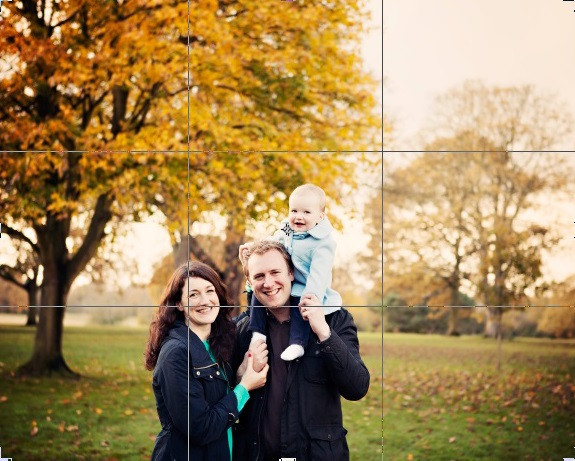
This isn’t the only way to compose photos but it’s a great guide to start improving the composition of your photos.
I usually try to make sure my subjects head or even eye for close ups is in one of the top intersections (top red dots). However if I want to get a bit more of the surrounding autumn feel in my photos I may choose to position my subject on one of the bottom intersection lines. This rule works. Following it will definitely help you in composing your shots. Some images just don’t look quite as “right” when they break this rule.
Composing great shots
Don’t be afraid to mix it up and try different things when you’re composing your shots.
You could also choose to frame your subject in the surroundings for a more interesting feel, use the natural frame of the branches of a tree, or an arch of leaves. to give your images a more interesting feel. With the example image below, the prominent tree is leading my eye to the subject while the hand of the little girl holding the leaf is also placed on one of the intersection lines.
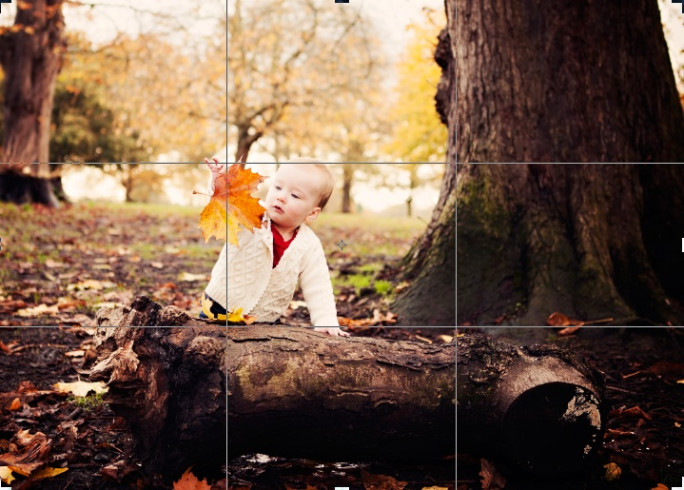
Or in the case of the following photo, the bench perfectly frames this little girl engrossed in her play...
Combating the gloomy, grey light
There’s no escaping the fact that most of the autumn days approaching us are going to be very cloudy and overcast. But you don’t want your pictures to be gloomy and grey too, so how do you make the most of the vanishing light?
Widen your aperture to get more light into your lense.
Adjust your ISO setting. Your camera’s ISO determines your camera’s sensitivity to light. Low ISO speeds like 100 or 200 are useful on bright sunny days but on these gloomier days where there isn’t as much natural light you’ll need to opt for ISO 400 to 600 or even higher.
As you still need to keep up with your fast moving children, as a last resort lower your shutter speed.
Invest in a decent lens. If you’re using the lens that came with your camera, it may be worth spending a little money on a prime lens that has an ultra-wide aperture and therefore lets in much more light. Prime lenses are quality lenses that are affordable as they don’t zoom in and out but they give you those lovely blurry backgroundsfantastic depth of field. The Nikon 35mm f/1.8 is a great choice, as is the Canon 24mm f/2.8, but there are plenty of options to suit your needs depending on your camera.
Remember if you are not sure how to use your camera please sign-up for my Photography for Parents Workshop – the next one is happening on Saturday 17th October.
Of course if you really want to make it easy on yourself book one of my mini sessions and let me do all the hard work for you!
Join my mailing list to make sure you receive my next DIY Photography winter guide.